Why Redirects Are Essential for SEO and User Experience
When managing your website, it’s common to remove outdated pages, posts, or images to keep everything fresh and relevant. However, deleting website elements without setting up proper redirects can negatively impact your SEO and user experience. Here’s why it’s essential to set up redirects and how to do it easily using a plugin like Redirection.

What is a Redirect?
A redirect is a simple way to guide both visitors and search engines to a new destination on your site when they attempt to access a deleted or moved item. For instance, if you’re deleting an image that was used to illustrate your “Services” page, you can set up a redirect that sends visitors to the “Services” page instead of landing them on a 404 error page.
Think of a redirect as a signpost that says, “This content has moved, but here’s where you can find something similar or useful
Why Are Redirects Important for SEO?
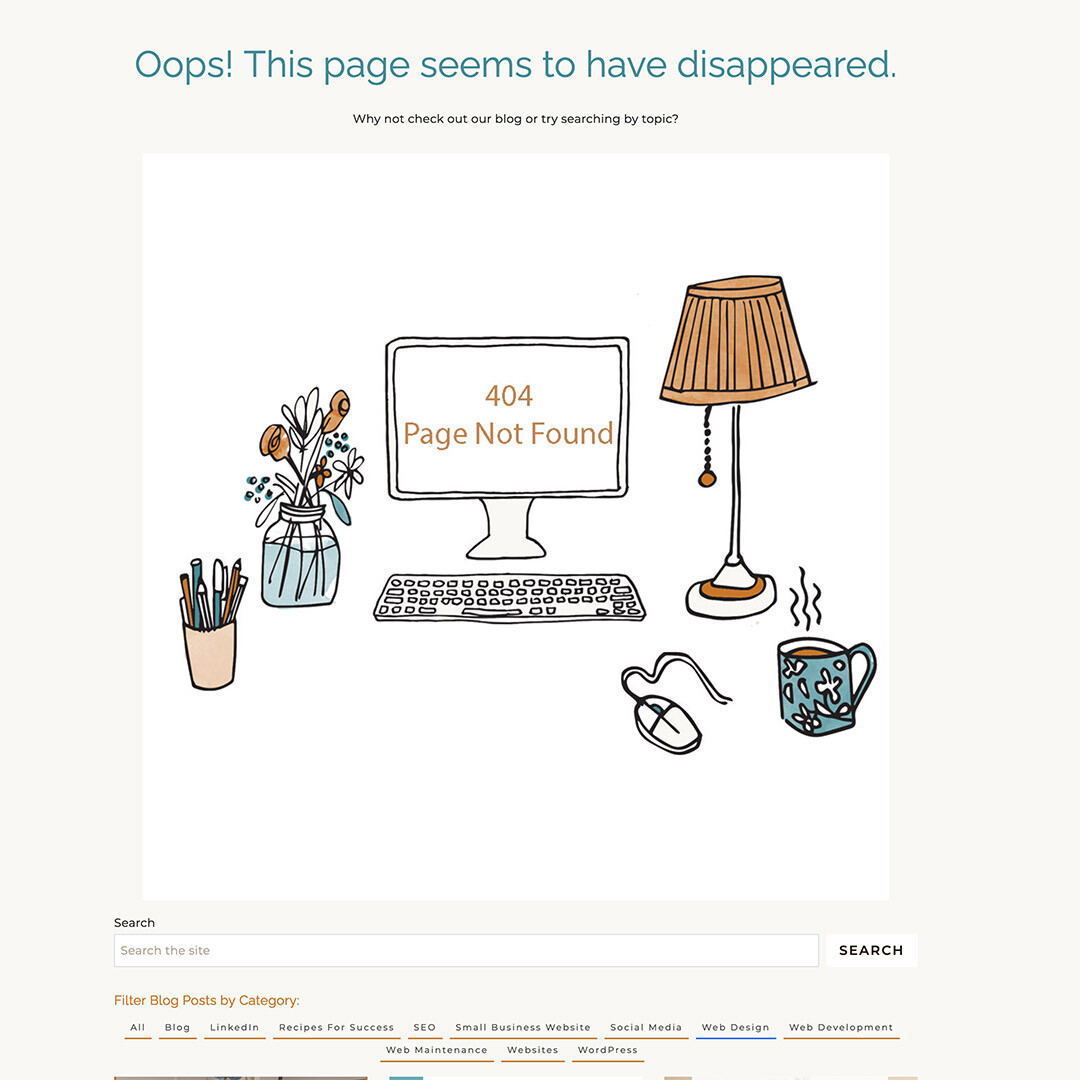
- Avoiding 404 Errors: When users or search engines encounter a 404 page (a page not found error), it signals that something has gone wrong on your site. Too many 404 errors can hurt your website’s SEO ranking because search engines like Google view them as indicators of poor site maintenance.
- Preserving Your Traffic: When visitors hit a 404 page, they’re likely to leave your site if they don’t find what they’re looking for. A well-placed redirect can keep them engaged by guiding them to relevant content, reducing your bounce rate.
- Maintaining Link Equity: If you have backlinks pointing to a page that you’ve deleted, setting up a redirect ensures that the SEO value (or link equity) from those backlinks isn’t lost. Instead, it’s passed along to another relevant page on your site.
Setting Up Redirects Using the *Redirection* Plugin
Creating a redirect can be easy, even if you’re not a technical expert. Plugins like Redirection allow you to manage redirects directly from your WordPress dashboard without needing to touch your site’s code.
Here’s how to do it:
- Install and Activate the Redirection Plugin: Head to the WordPress plugin repository, search for *Redirection*, and install it. Once installed, activate the plugin to get started.
- Navigate to the Redirection Settings: In your WordPress dashboard, go to “Tools” > “Redirection.”
- Create a New Redirect:
- In the Source URL field, enter the URL of the page, post, or image you’re deleting.
- In the Target URL field, enter the URL of the page you want to redirect visitors to.
- For example, if you’re removing an image from your site that was used on your “Services” page, you might set the Source URL as the image’s URL and the Target URL as your “Services” page URL.
- Save the Redirect: Once you’ve entered both URLs, click “Add Redirect,” and you’re all set! The plugin will automatically manage the redirect, so any visitors or search engines trying to access the deleted content will be seamlessly sent to the new destination.
Best Practices for Redirects
- Redirect to Relevant Content: Whenever possible, redirect users to a page that closely matches the content they were originally trying to access. This ensures a better user experience and keeps visitors engaged.
- Monitor and Update Redirects: Over time, you might need to adjust your redirects as your site evolves. Regularly check your site’s redirects to ensure they’re still accurate and relevant.
Final Thoughts
Setting up redirects is a small but critical step in maintaining your website’s health and SEO performance. By using a plugin like Redirection, you can effortlessly manage this task and avoid the negative consequences of 404 errors. Not only will this keep search engines happy, but it will also help ensure that your visitors find what they’re looking for and stay engaged with your content.
By taking a few moments to implement redirects whenever you remove website elements, you’ll be protecting your site’s SEO, preserving your hard-earned traffic, and creating a smoother experience for your users.


